Toon Shaders: Animated Water Foam
Toon shaders have exploded in popularity recently, particularly among the Blender community. Grease Pencil and BEER specifically have been gaining quite a bit of traction, and scrolling Instagram gives no shortage of blender artists such as Dédouze playing around with these new non-photorealistic rendering (NPR) techniques. Games like Zelda and Genshin Impact also likely contribute to this growing popularity.
Sadly, I’m not proficient in Blender at the moment, so I can only make limited use of the vast majority of these available resources. It seems there is not nearly as much resources online for getting the same effects on Houdini. While I could reasonably learn Blender, I thought it would be a good project to attempt to replicate these in Houdini, as well as potentially being helpful for anyone else interested in the same thing.
With regards to a target scene, I’m particularly fond of Studio Ghibli films, so the scene shown on Figure 1 makes for simple enough geometry for a good test subject.
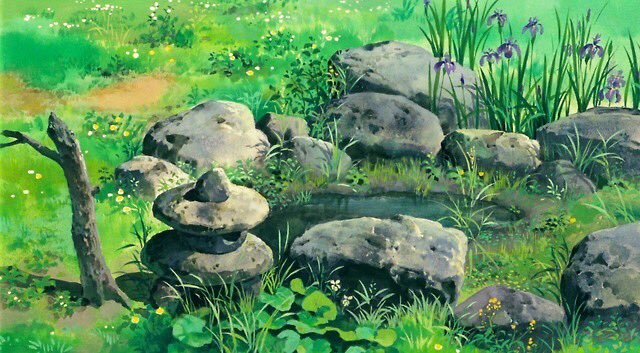
Figure 1: Scene from My Neighbour Totoro, Studio Ghibli.
Water Shader
In this post, I’ll be focusing on an animated water effect. This involves a (nearly) static shoreline foam and ripples radiating outward from it that gradually disappear. These is quite a lot of blender tutorials for this, but none (that I’ve found) in Houdini. As an additional note, I’m implementing this as a material shader in Octane, though porting the same ideas to Mantra’s material shader should be fairly simple.
Measuring Distance to Shoreline
Before we get to the material shader, we need to first figure out a distance between any point on the water to its nearest shoreline point. This is required so that we can modulate where the foam is placed. Some blender tutorials seem to place foam depending on the raycasted depth, so that this entire process can be done in-shader, but I thought that we can leverage Houdini’s built in tools to actually have a proper distance measurement.

Figure 2: Measuring distance to closest point.
Finding the required distance is easy given Houdini’s distance from geometry SOP. We want to apply this distance SOP on the flat water plane itself, so all we really need to do is to prepare our collision geometry (the ground and the rocks), then use a group create on the water plane, selecting group based on an input bounding object. This selects all points on the water plane that intersects with our collision geometry.
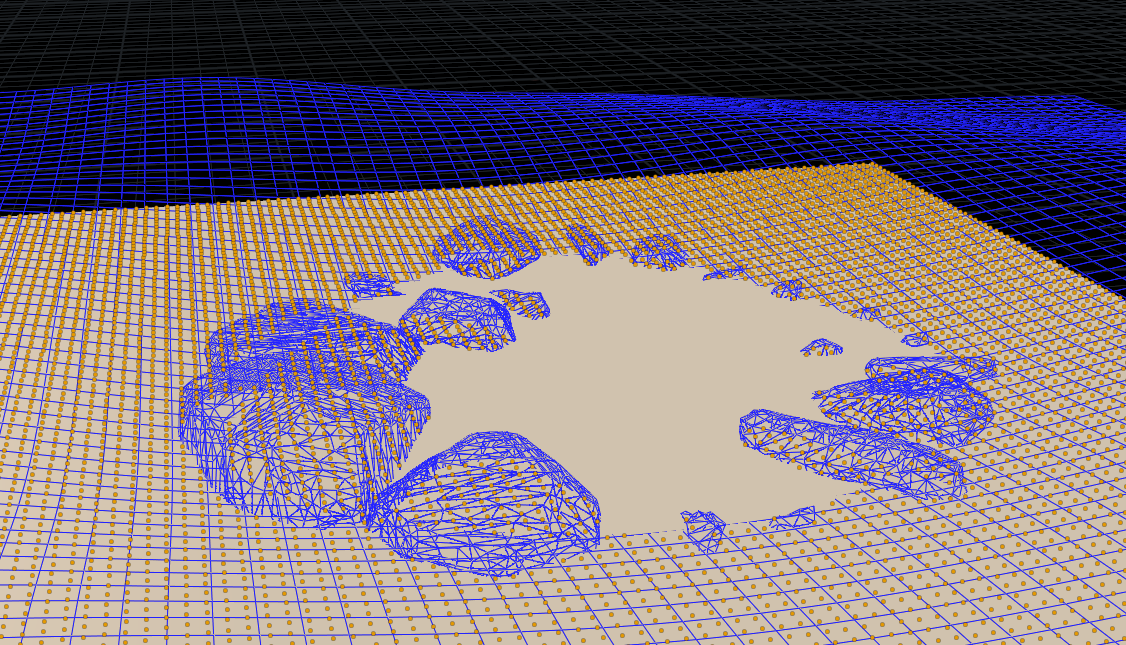
Figure 3: Points on the water plane intersecting with the collision geometry.
At this point, we simply apply the distance from geometry SOP, selecting the created group as the reference. The rest of the nodes are for cleanup, attribute remap normalizes the output distances to [0,1] and attribute blur removes artifacts due to low grid resolution.
Animated Ripples
The basic idea of doing animated ripples is taking advantage of our precomputed distance metric and applying a bit of math to move a sine wave outwards over time.
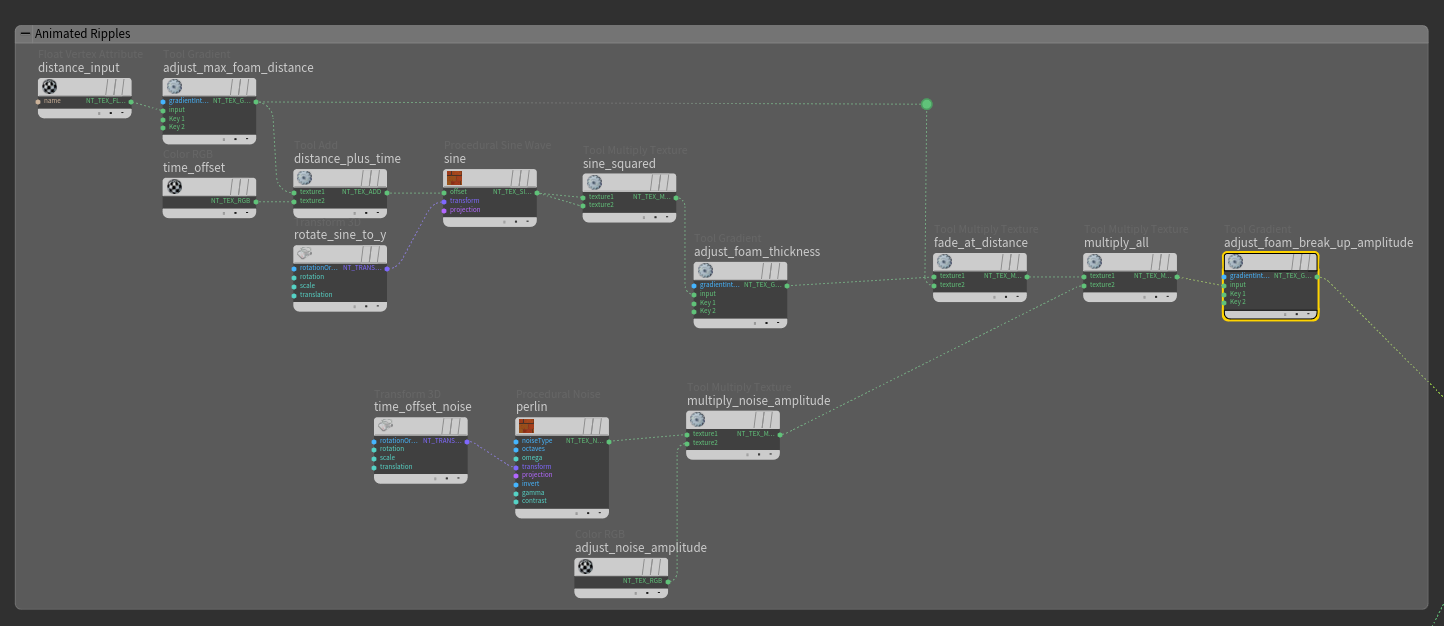
Figure 4: Points on the water plane intersecting with the collision geometry.
Shown above is the overall network. We start off with out initial distance metric. Notice that this is simply a linear gradient ramp from black to white.
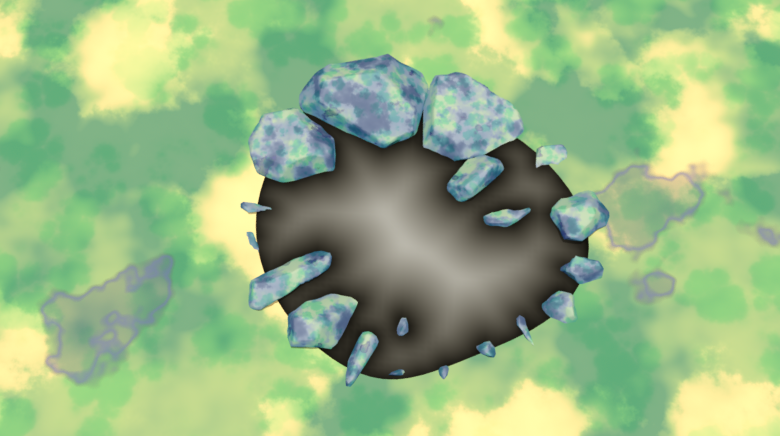
Figure 5: Distance metric.
We use a gradient ramp with an input parameter to control how far in the ripples reach. Note that I used a decent amount of input parameters to control various properties of the ripples. Theoretically you can get away with a much more minimal network but this network made the most sense to me based on the math’s order of operations.
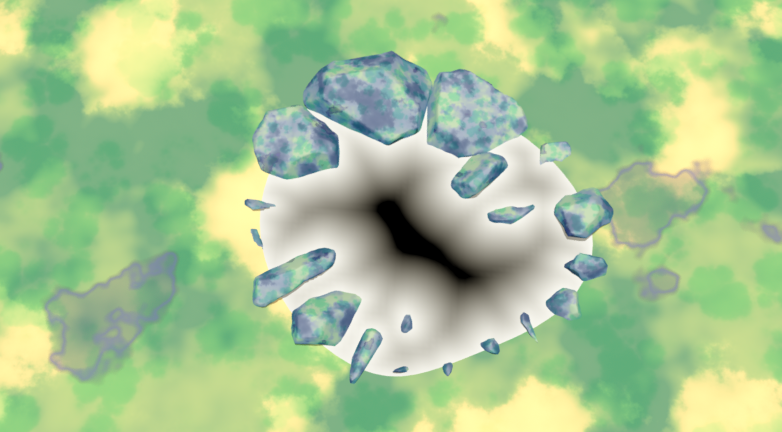
Figure 6: Remapped distance metric.
Next, we add a time parameter and throw it into a sine function. Note that this sine is rotated to be constant in the xz plane. At this point, we will have a function that is effectively \(\sin{(d+t)}\), which achieves the basic effect of waves that progressively move outwards from the shoreline. Note that we do need to take the time modulo 1 in order to get repeating waves.
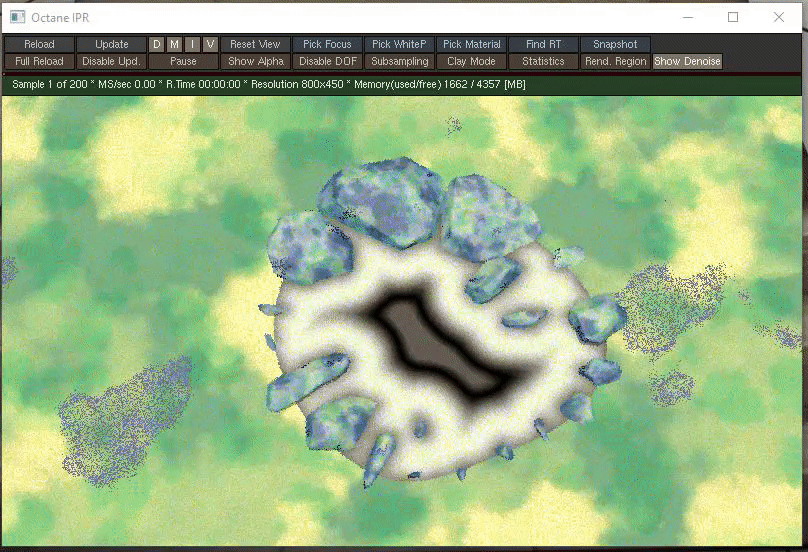
Figure 7: Sine modulated by time and the distance to the shoreline.
The rest of the nodes are for tweaking the look of the wave. As can be seen above, the current look is not all too appealing, so we add in a ramp to control the foam thickness, as well as multiply the result by the initial distance to force it to fade out as it reaches the middle.
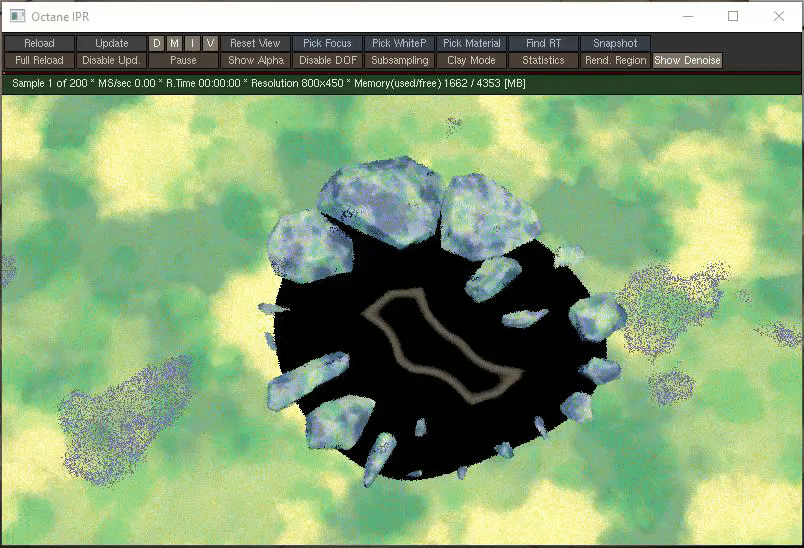
Figure 8: Wave with controlled thickness and fade out at distance.
Next, we want the wave to break up into pieces rather than fade as a whole ring. To achieve this, we multiply in a Perlin noise, which is also animated over time to give a random breakup for each ripple.
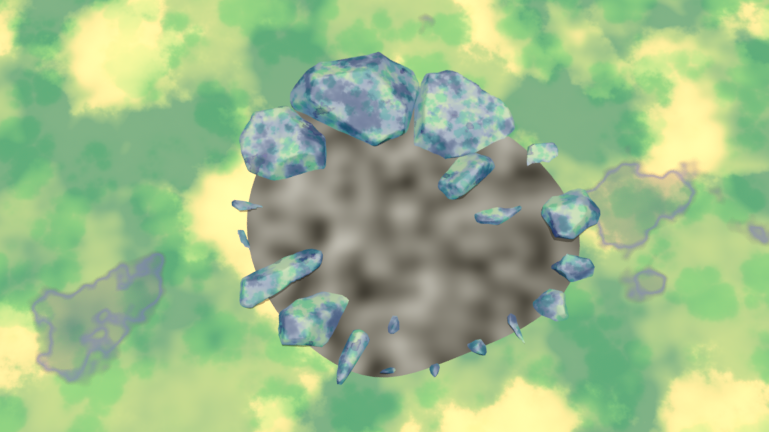
Figure 9: Perlin noise to modulate the breaking of each ripple.
Multiplying this noise into our existing ripple and using a final ramp to adjust the threshold for what is considered part of the ripple and what is not gives the final ripple effect.
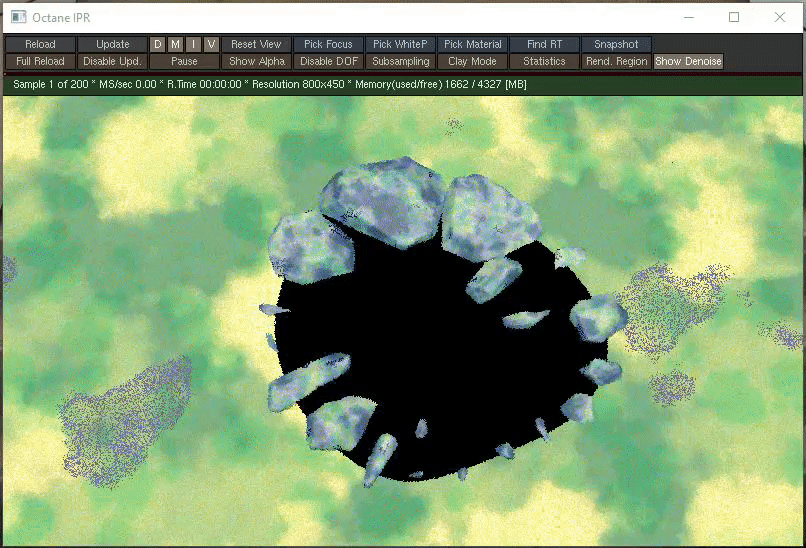
Figure 10: Final animated ripple.
Animated Shoreline
Doing the shoreline more straightforward and uses a lot of the same nodes. Instead of animating a sine wave, we just use the distance itself, use a ramp to control how wide the shoreline foam is, another ramp to animate the foam thickness over time to achieve a rising and falling effect
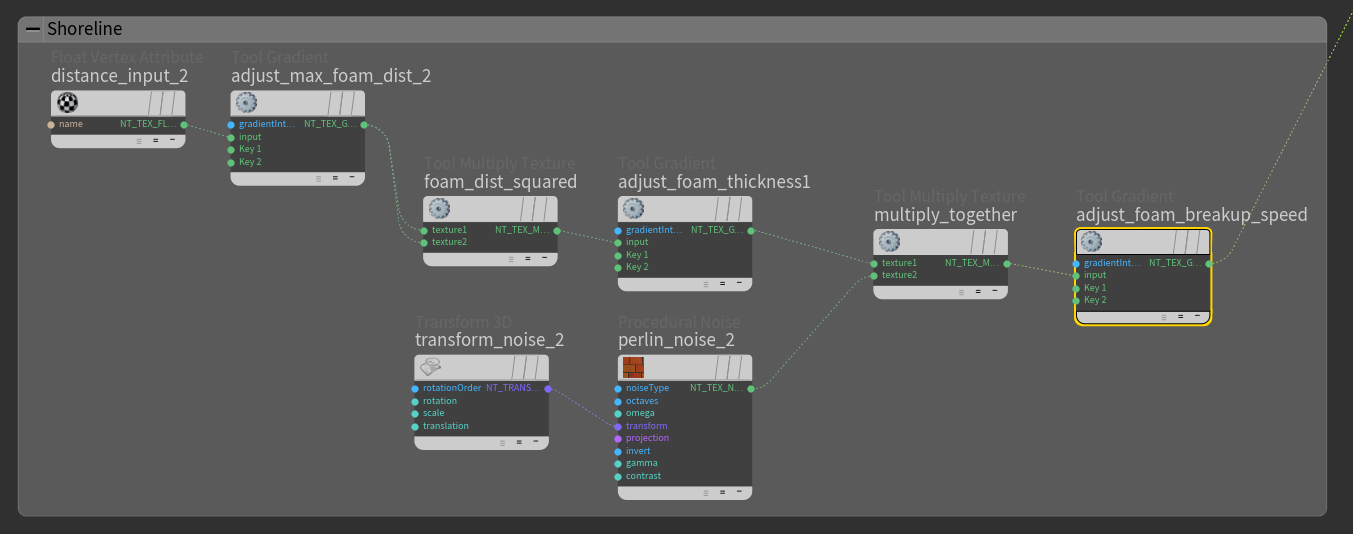
Figure 11: Network for animating a shoreline foam.
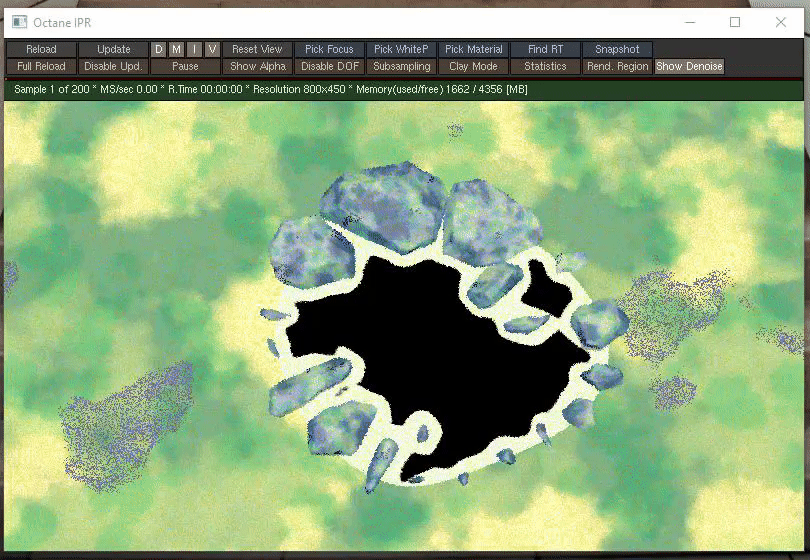
Figure 12: Final animated shoreline.
Combining Everything
At this point, we simply add the two effects together, then use a material mix node, using the ripple itself as a mask, to combine a white toon material for the foam and a blue toon material for the water itself.
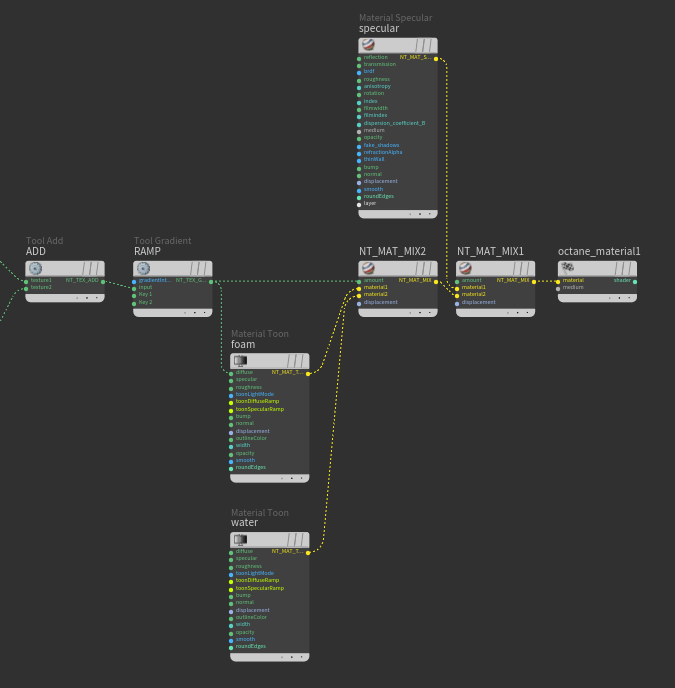
Figure 13: Mixing materials together.
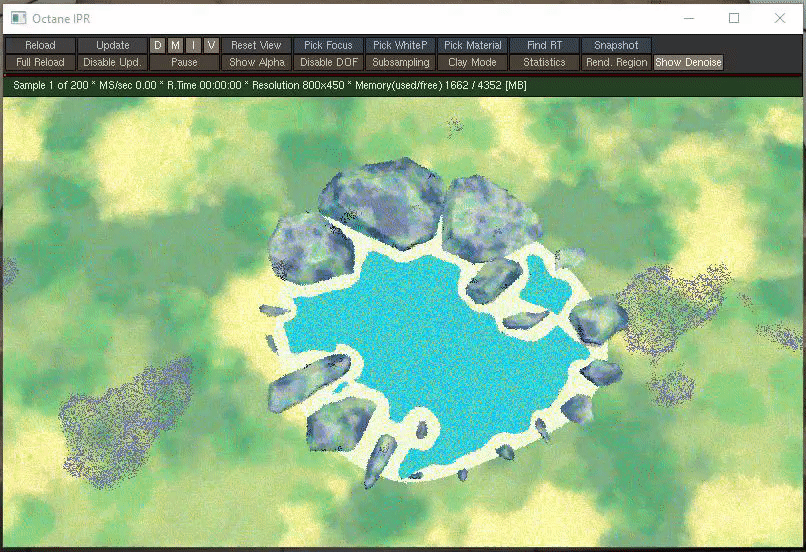
Figure 14: Final toon shader.
Et voilà. You can additionally add in a reflection by mixing in a specular Octane material on top of the toon material.
A download of this animated ripple shader can be found on the sidebar. Just a reminder that this is implemented in Octane, so it won’t open properly unless you have the Octane plugins installed (this does work perfectly fine with the demo version of Octane).
I’ll be doing more exploration of shaders to get closer to the Studio Ghibli style, and hopefully I’ll be able to get nice enough results to be able to post about it here again. I’m currently working on the grass, a working example of which is visible in the teaser picture at the top. I’m not quite happy with the way it renders so I’ll still be working on it for a bit.