Shirt Bleaching
Yikers, it’s been a very long time since my last post. In any case, no point in dallying so here’s something that I’ve been up to: bleaching custom designs onto shirts.
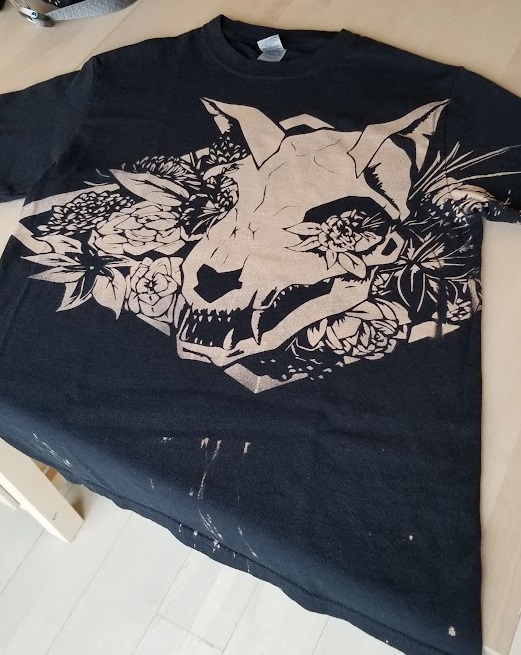
Figure 1: A final bleached shirt.
In terms of the actual process, it’s fairly simple. You literally just have to put some household bleach on a shirt and wait for the colour to fade. This means you could freehand a design, but the process is extremely permanent–there’s basically no way to recover from an incorrect brush stroke. You can’t even really dab out the bleach since it seeps into the shirt fabric, so your only real option is to dye the shirt back and good luck getting the colours exactly matched that way. Of course, a slightly messy handmade design does have its own charm, though, so if that’s the look you want by all means go for it. What I’m going to go over is the more controlled stenciling method for transferring a design onto a shirt. This makes it easy in that the designing and printing of the shirt are completely divorced from each other.
To start, I’m assuming you have a design you want to transfer. I’m just reusing the same cat skull drawing I made for a woodblock, since the same qualities that make it suitable for block printing also make it good for a shirt—distinct negative/positive space with clear disambiguous shapes.
Vinyl Cutting
The first step is to create a vinyl stencil of your design—the vinyl basically acts as a sticker that you can put on the shirt to block out areas you don’t want the bleach to touch. The process of making a vinyl cut is largely machine dependent, but in general involves creating a pdf file consisting of only the vector edges that you want to cut (labelled with a specific name depending on the machine you’re using). I found using Adobe Illustrator makes this quite easy; my starting image was a high-resolution raster but this is easily convertible to a vector using Illustrator’s Image Trace tool. Since my image was fairly large, I had to use quite a large vinyl cutter (Figure 2). Thankfully the Toronto Public Library system had one available to use. I should note that with the size and intricacy of my design, it did take basically two hours to complete the cut.
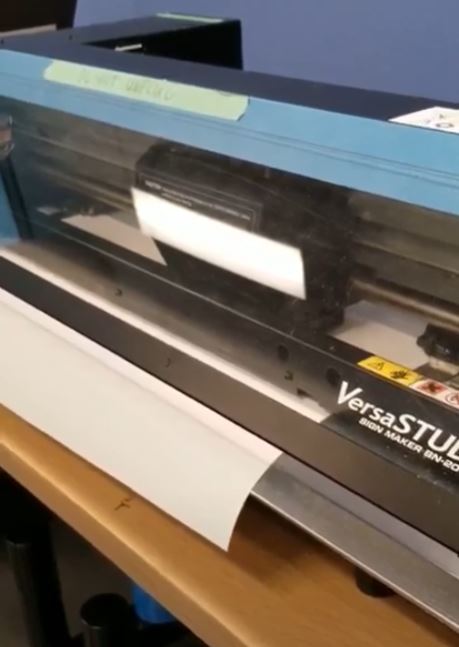
Figure 2: A vinyl cutter.
The next step is to do the excruciating task of ‘weeding’ out the unwanted vinyl. The vinyl cutter itself only does the cuts, which means that you manually have to remove all the polygons which constitute the positive space of your image (ie the parts that end up bleached). You can use tweezers for this, but if your design has a lot of small polygons, I highly suggest getting an actual weeder tool for this, which basically looks like a dentist’s pick (Figure 3). Using the tool is straightforward, you just have to poke the unwanted pieces and peel them off the vinyl backing layer.
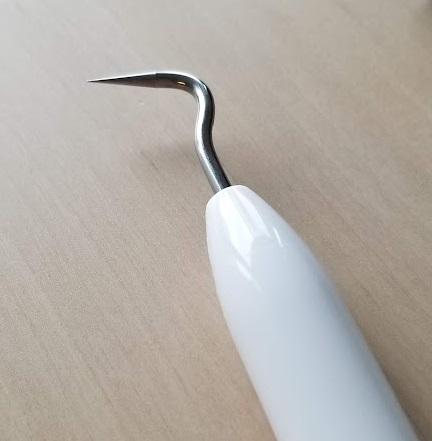
Figure 3: Vinyl weeder tool.
After you do all that you should end up with a vinyl piece with just all the parts you want to mask away from the bleach (Figure 4).
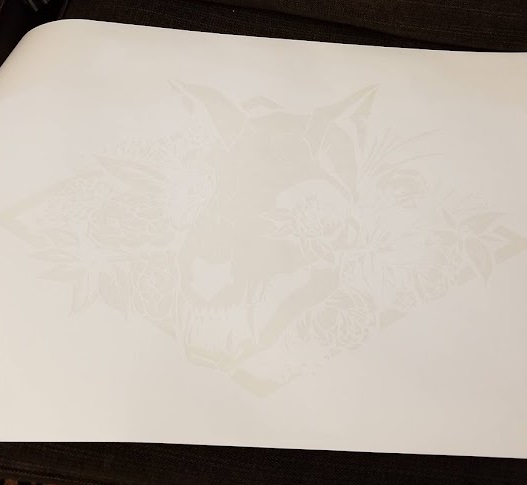
Figure 4: Final vinyl mask. It’s a bit hard to see considering both the vinyl and the backing layer are white, but you should be able to see the backing layer where the vinyl was removed is slightly yellower.
Transferring
Now, you need to transfer this vinyl mask onto the shirt. Considering the design is probably pretty complex, you can’t just peel it off the vinyl and stick it on the shirt; what you need to use here is transfer paper. This is by far the most finicky and potentially frustrating part of the process, since you need to make sure the small little bits end up sticking to the correct parts. Make sure to use normal strength transfer paper—I made the mistake of buying high strength transfer tape and the vinyl stuck too well to the tape and not the shirt.
To use the transfer paper, you just have to cover your entire design with the paper, then the paper acts to keep all the different parts of your vinyl together as you peel the backing layer off. I found that peeling the backing layer off at a shallow angle helps to make sure the design ends up stuck to the transfer paper rather than remaining on the backing. You should end up with your design preserved perfectly on the transfer paper (Figure 5).
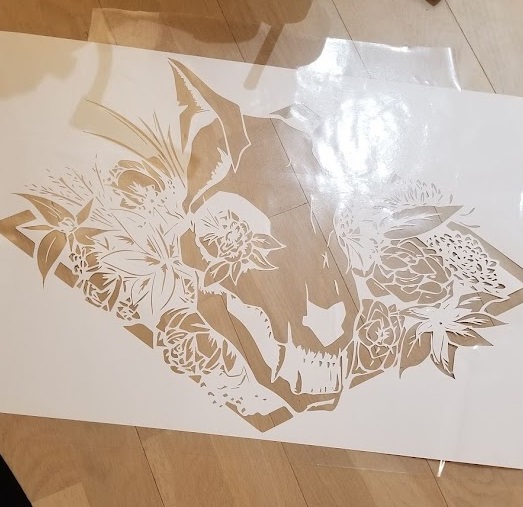
Figure 5: The mask on transfer paper. Note that you’re now looking at the sticky side of the vinyl, having been peeled off the backing layer.
Now, you just stick your design that’s stuck on your transfer paper to the shirt (Figure 6).
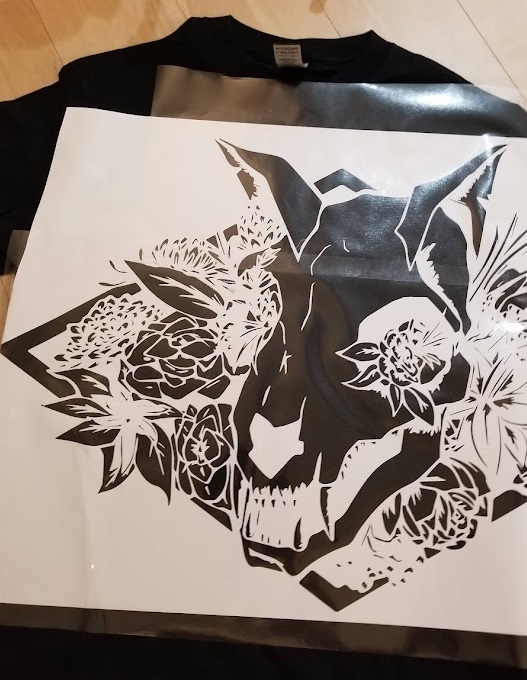
Figure 6: The vinyl mask plus transfer paper stuck onto the shirt.
Then, you have to peel the transfer paper off carefully. You want to make sure the vinyl now sticks to the shirt instead of the transfer paper. See why this is so frustrating? There’s so many steps where parts of the image could end up misaligned or not sticking to the correct part. I found here that you should peel the transfer paper at a high angle this time (I basically folded it almost 180 degrees as I peeled it off), and this helps make sure the vinyl ends up on the shirt. You can then use excess vinyl to mask off a healthy boundary region on the edges of the design (Figure 7).
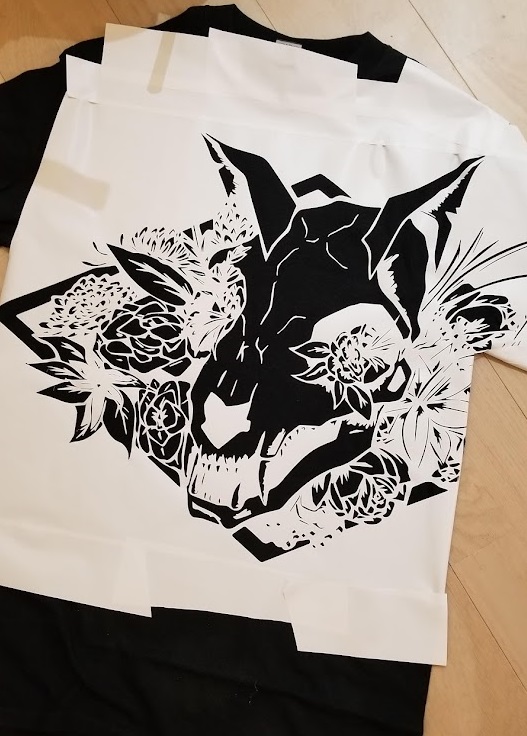
Figure 7: The final mask on the shirt.
Bleaching
Now for the fun (and messy!) bit. Now that the mask is on the shirt, the only thing left is to bleach it. A good way of doing this is to just put household bleach in a spray bottle and spray it onto the shirt. Warning: make sure to do this in a well-ventilated area and wear a mask and goggles! Aerosolized bleach is no joke. I did this in the bathtub with the fan on but I’d suggest doing it outside if you could.
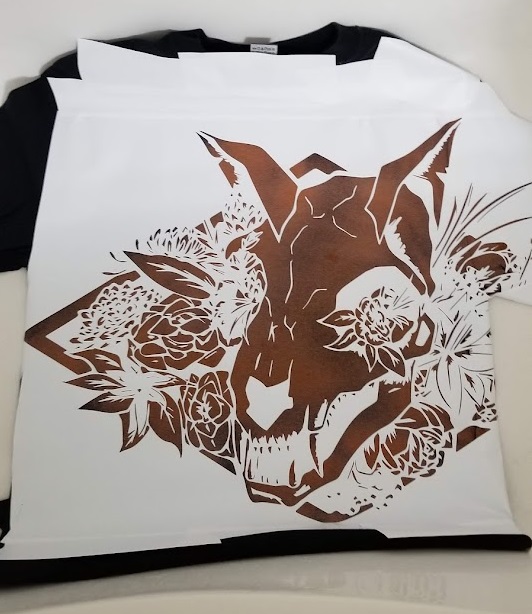
Figure 8: Shirt in the process of bleaching.
You don’t need to dilute bleach if you’re using a spray bottle, since the amount that ends up on the shirt isn’t that significant and you really want the shirt to have as little actual liquid as possible so it doesn’t seep far into the masked layers. Take it slow, though, since it does take time for the bleach to work through lifting the colour. Don’t just douse the entire thing with bleach! Just be patient and add bleach on a little bit at a time.
You can stop the bleaching by just rinsing the shirt off with water, though once you start this you’ll also inevitably peel the mask off (Figure 9). I would suggest stopping the bleaching a little bit before you achieve the lightness that you want, since the shirt does look a bit darker while the bleach is on it (since the shirt would be wet). It also does take some time to wash out all the bleach so expect it to keep lightening a bit while you wash it.
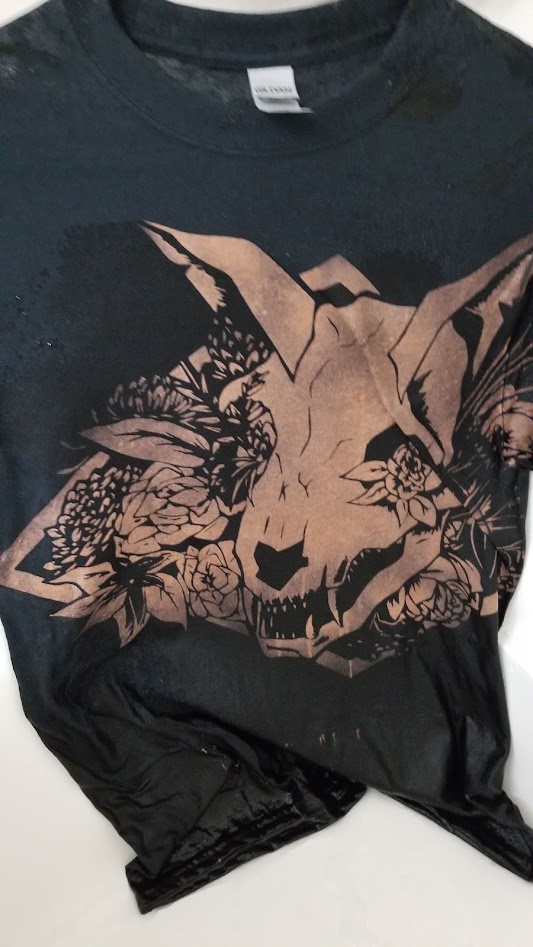
Figure 9: Rinsed shirt. Note that the final design ends up a lot lighter than it appears while wet.
Make sure to wash the shirt by itself (or with other recently bleached shirts) right after rinsing it, since you don’t want excess bleach touching any of your other laundry. Notice that the shirt I made ended up a lot lighter after the wash (Figure 1). This wasn’t really the result that I wanted, I really liked the darker orange grungy look, but it’s something to learn for next time. I also ended up with a bit of dripping, but I actually quite like it. I might intentionally hang the shirt while I’m spraying it to get a bit more of that messy look.
And that’s it! Once the shirt is washed you have a new shirt that only you have!
Random Notes
Shirt Types
Just a quick note, make sure that when you’re bleaching, if you want the orange bleached look you’re gonna need a pure cotton shirt. If you have a cotton-polyester blend, bleaching it basically goes straight to grey/white, while cotton goes through the nice orange inbetween.
Why Not Print?
So why bleach instead of printing or iron-ons? There’s actually a surprising number of advantages to bleaching (even if the process is annoying and bleach is pretty irritating as far as household chemicals go). The first is it’s an easy way to get that grungy shirt look, both in the handmade aspect and the dirty orange colour (even though mine ended up too light :/). Also, since you’re bleaching the shirt, there’s basically no risk of the shirt fading or the printed design tearing after a bunch of washes. It also means that the shirt fabric has the same texture throughout which is nice. These are all nice reasons to list if I wanted to sell you on the idea but they’re really not why I did this though.
The biggest thing about doing it yourself though is just being able to do whatever design you want. No shirt printing service would be able to handle the size of this design, plus the way I wanted it to wrap around the side of the shirt (Figure 10). They all generally limit you to a rectangle on the front of the shirt, which works for a lot of graphic tees but I just wanted something different.
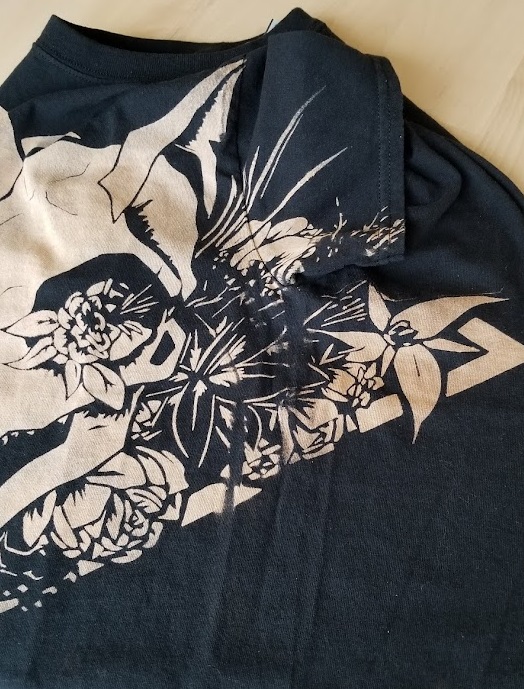
Figure 10: Design wrapping around the side of the shirt. It’s not perfect, you can see where the fabric ended up folded underneath the mask, but I’m quite happy with how it turned out.
Freehand Designs
Regarding freehand designs, I started doing some brushwork on a different shirt, and I would highly recommend diluting the bleach (maybe 2 water : 1 bleach or so) when doing this, since even the household strength bleach ended up eating holes through the shirt after I washed it. You won’t see holes while you’re painting on the shirt, but the fabric ends up frail enough that once you wash it they get torn wherever the bleach was concentrated enough.
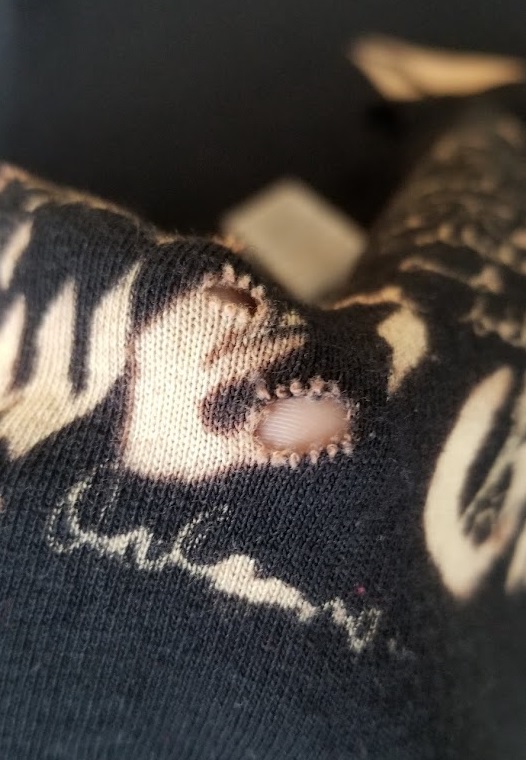
Figure 11: Bleach eating holes through fabric. Make sure to dilute the bleach of you plan on doing freehand brushwork.